November 12, 2013
DIY Adjustable Standing Desk
How my dad and I built an adjustable standing desk/workstation for under $100
I’ve been reading a lot more lately about standing desks and thought the idea sounded interesting. I already sit all day at work along and in the car and sometimes I just don’t feel like sitting down anymore. I often still need to get things done on the computer though, whether its editing photos, working on a new web design or creating a new short video. I also like to use my desk/table as a workbench for screen printing shirts among other things where standing would be the preferred posture.
I began looking around the inter-webs for a DIY example of a standing desk. Not just any standing desk though; I really wanted the desk to be adjustable because I didn’t want to completely remove the option of sitting (although now I think I may just invest in a drafting type chair/stool)
To my surprise, I wasn’t finding any blogs or pictures of DIY adjustable tables. The ones I did find were “technically” adjustable, but required removing everything from the desk before adjusting.
So what did I do? I ran the idea by my dad of course. He’s pretty much a DIY genius and all around “macgyver” in my book. He and I discussed different styles and implementations for about 45 minutes and then we knew what we wanted to do. The following few days we spent a couple of hours after work, for a total of about 6-8 hours, making a standing desk. I still need to paint it, but I think it worked out nicely 🙂
The Process
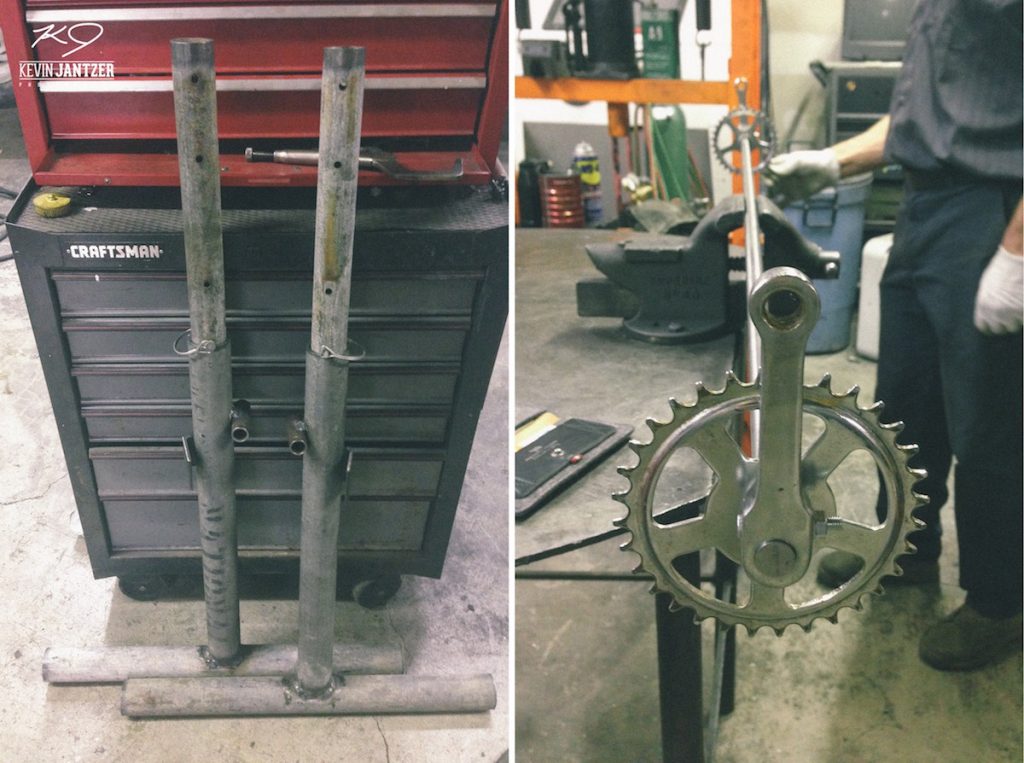
For our initial supplies my dad already had the pipes laying around the shop and the bike parts we picked up at a local bike shop.
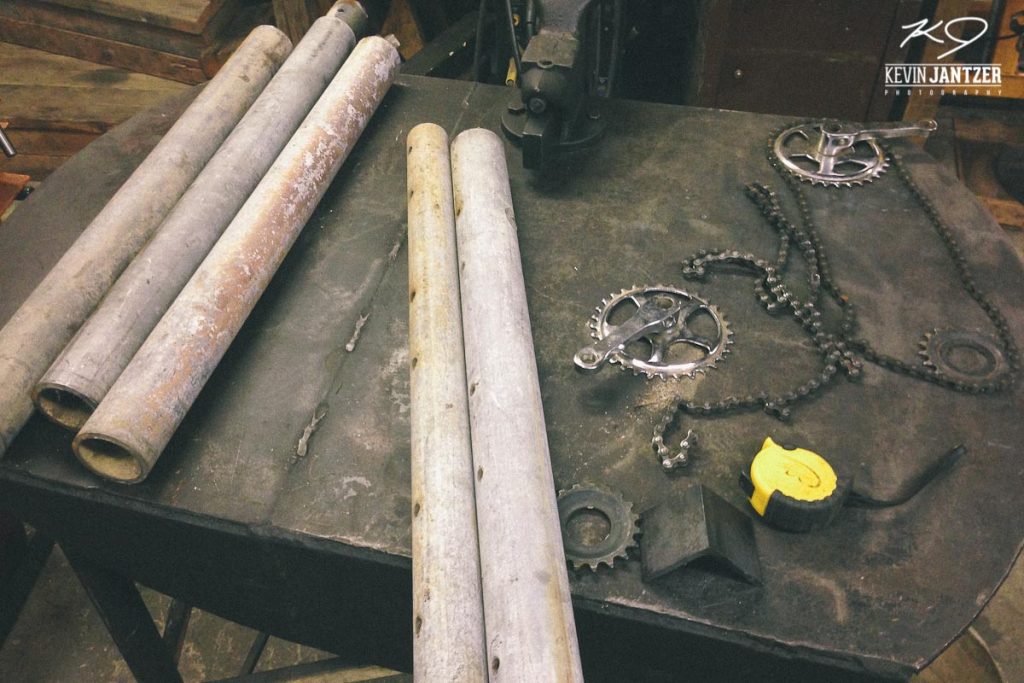
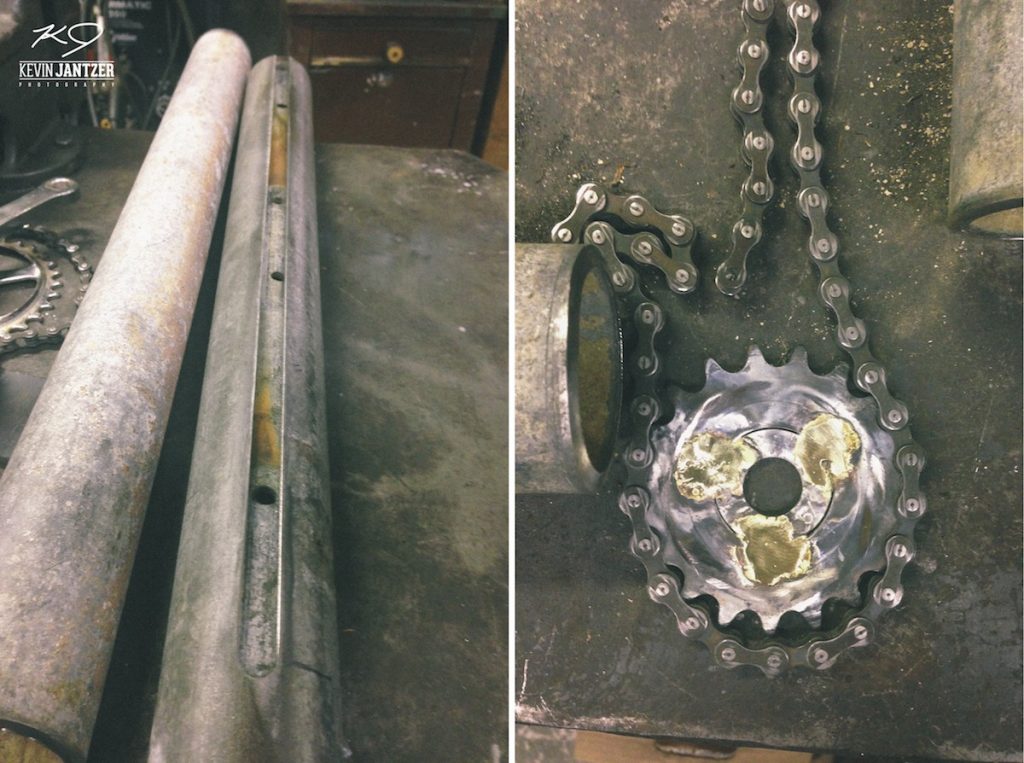
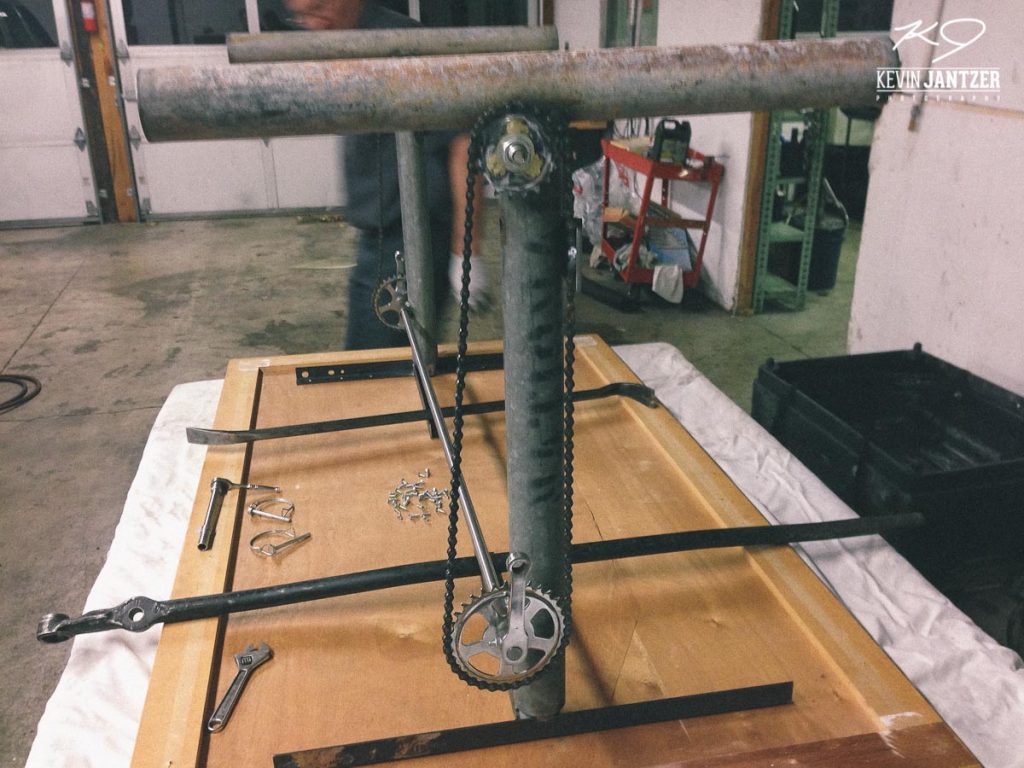
We spent $50 to have slots made with a CNC machine. The smaller sprocket had too big of an inner, so we welded a in a washer to make it the right size.
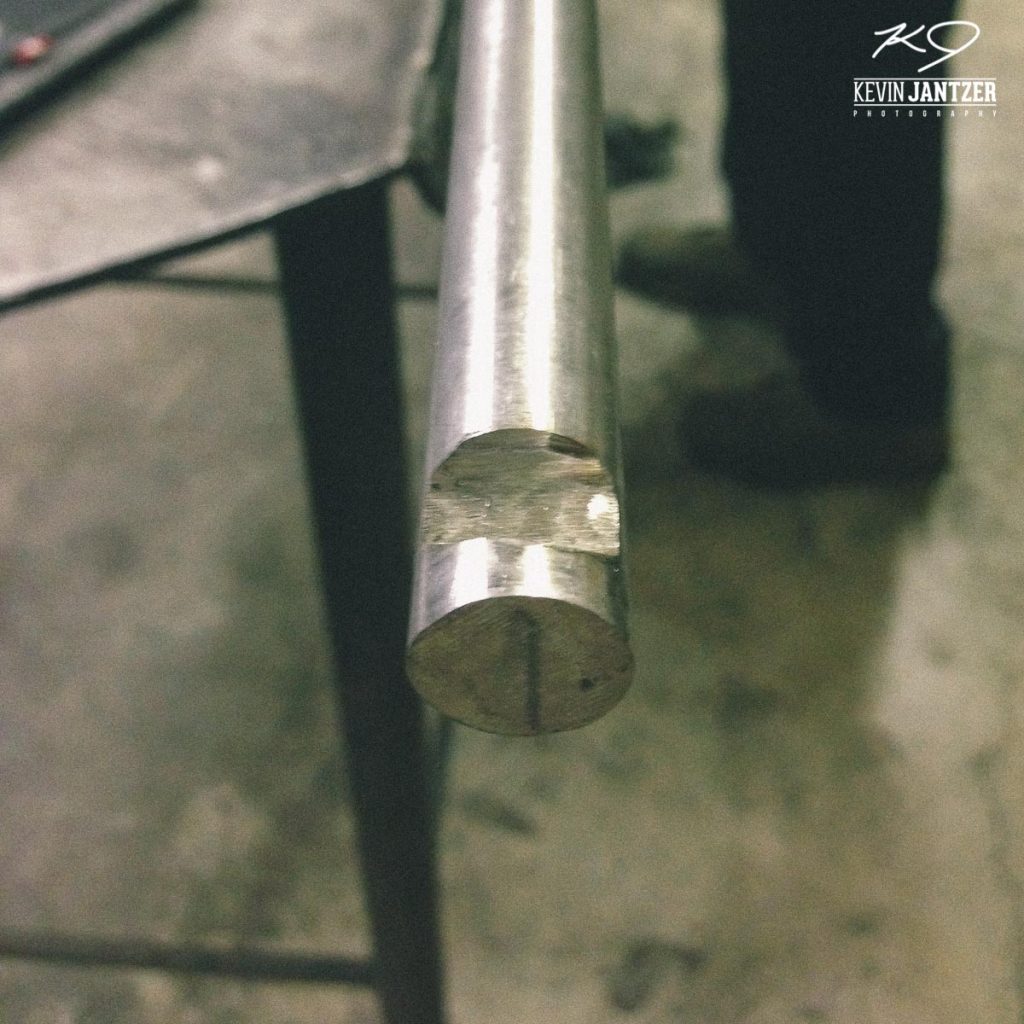
Here you can see the idea forming. The stainless center rod we picked up for about $10.
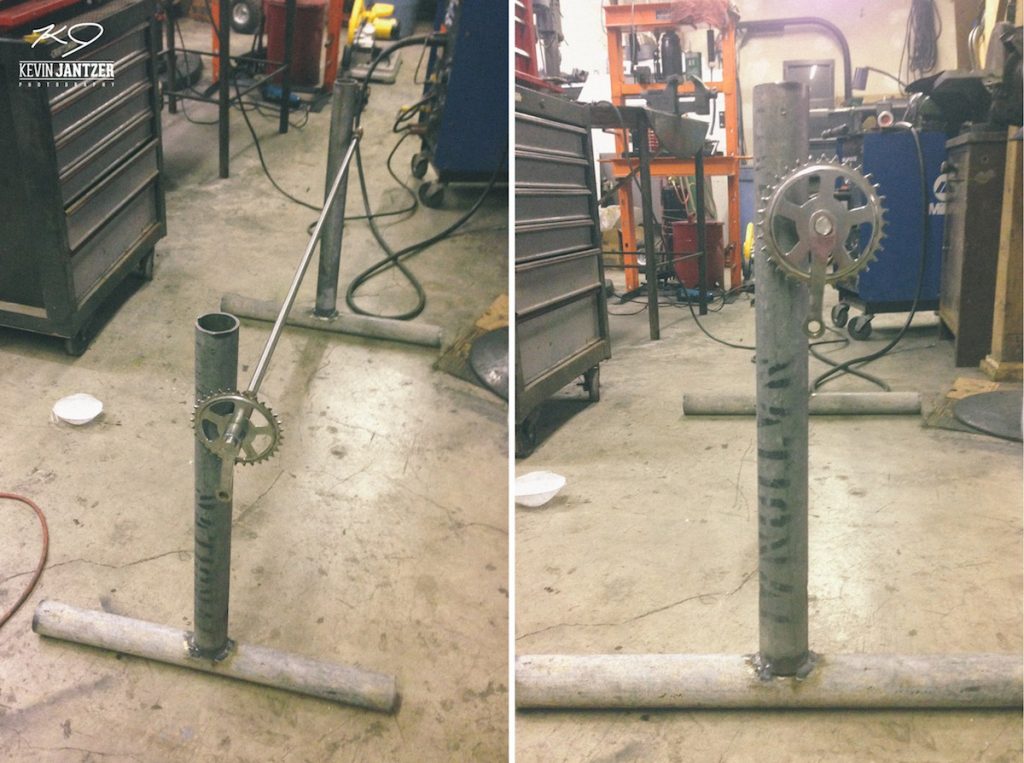
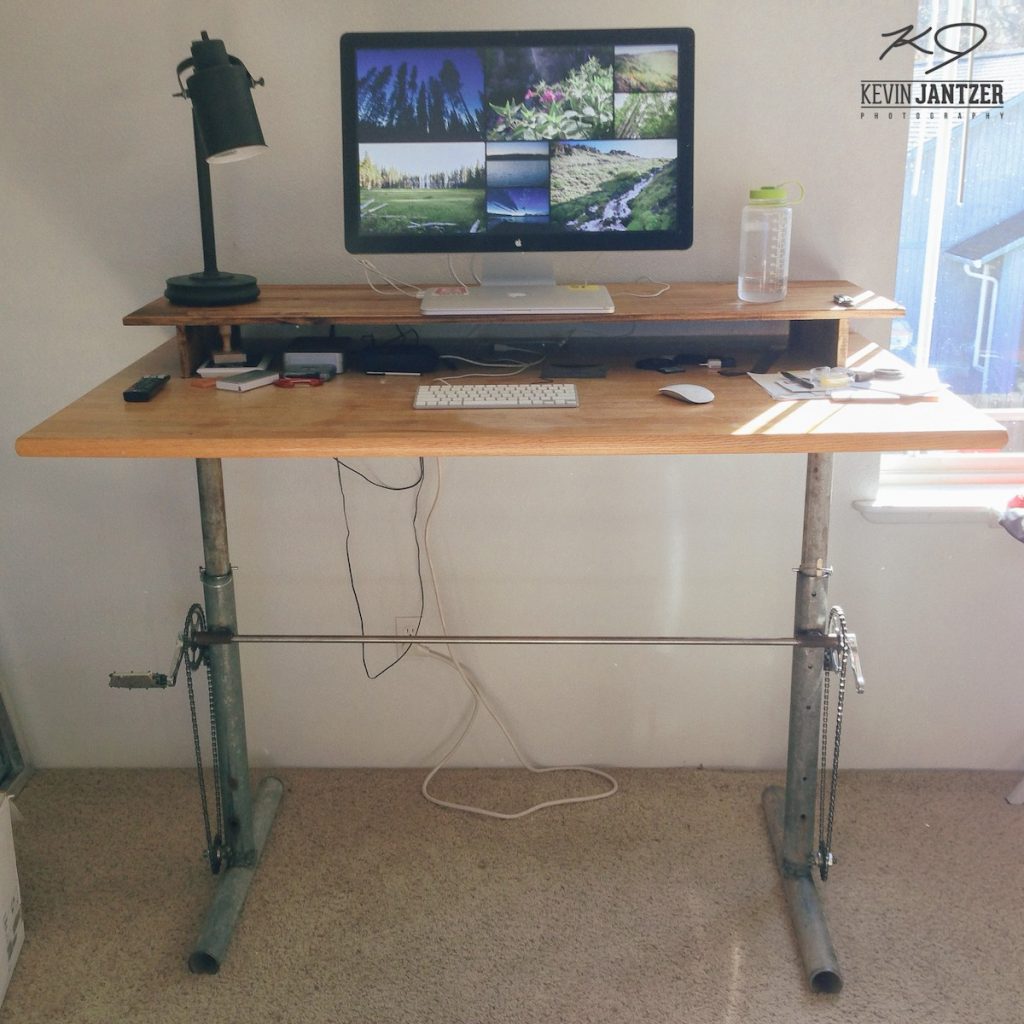
We used a bike chain attached to an L-bracket to make the inner pipe, and ultimately the table top, move up and down.
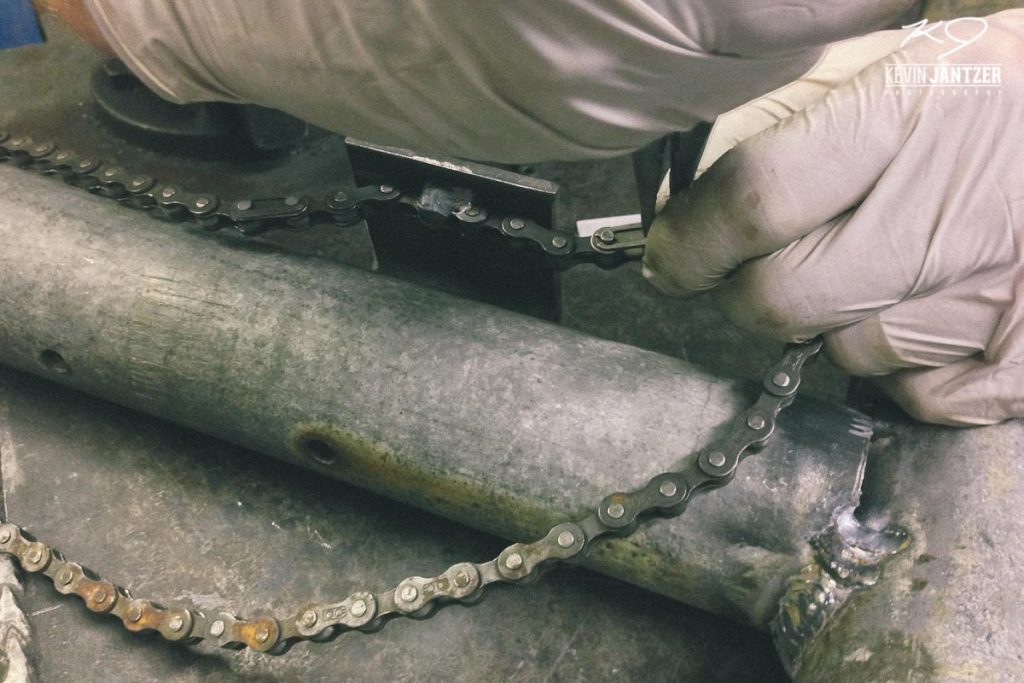
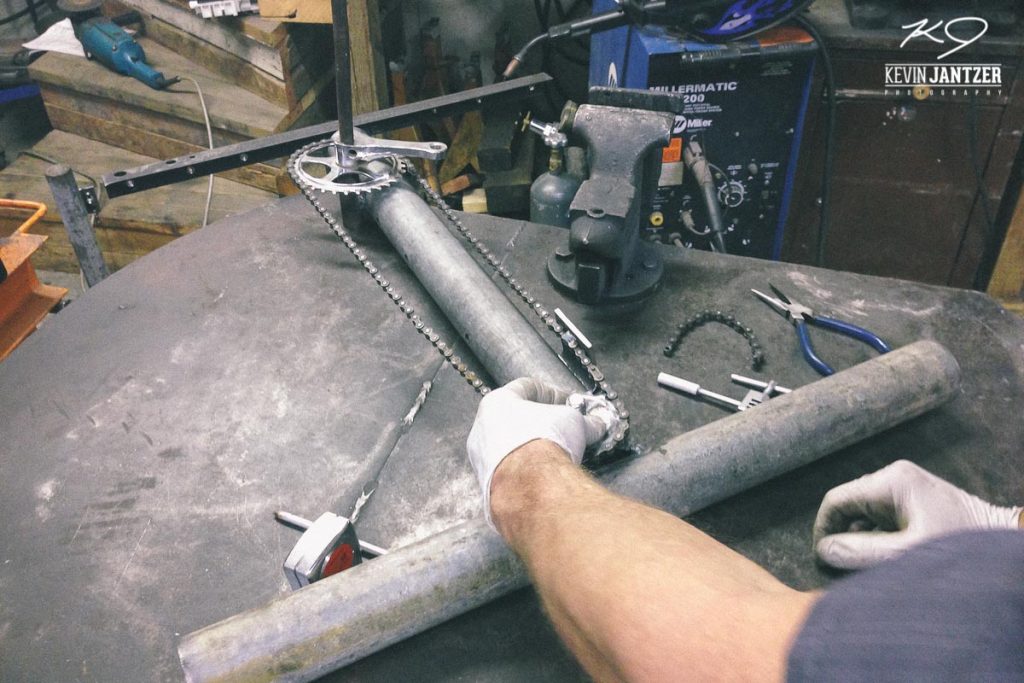
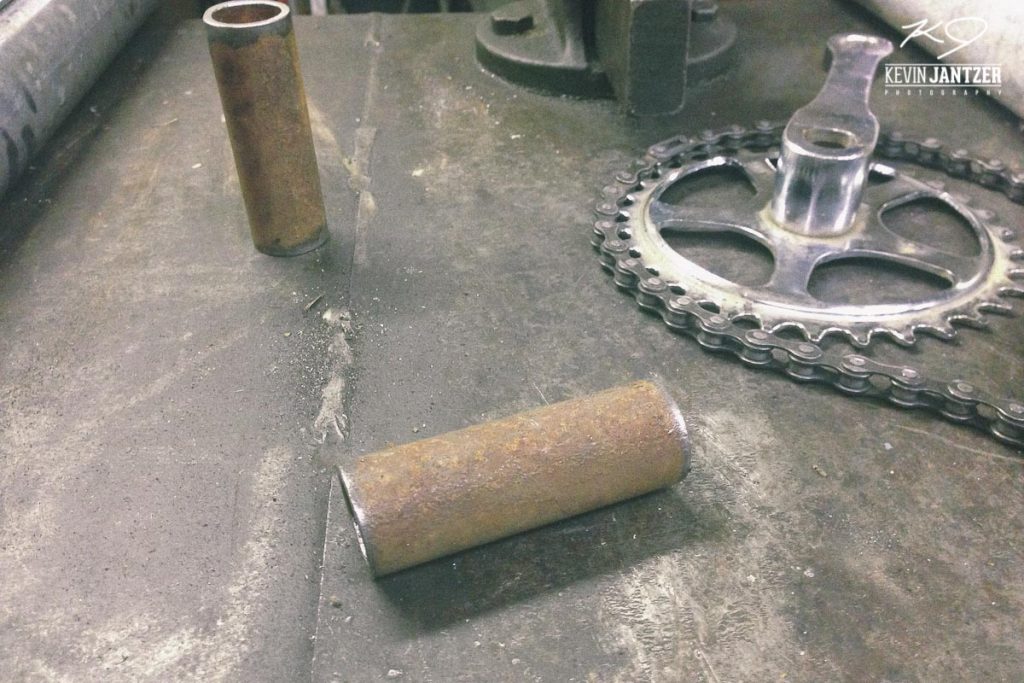
We used a die grinder to create channels that would keep the bike cranks attached.
I used my old kitchen table as the top for the desk. The L-bar you see attaching the legs and top together was from an unused bed frame.
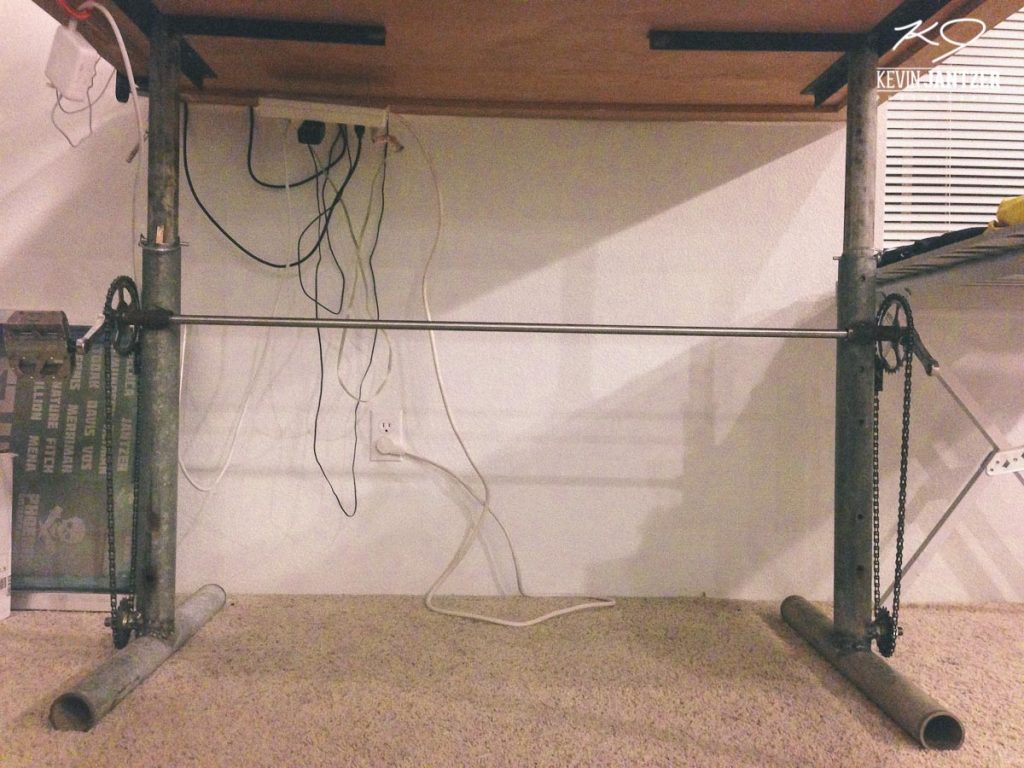
Cranking the desk up and down is a little on the heavy side, but it’s functional!